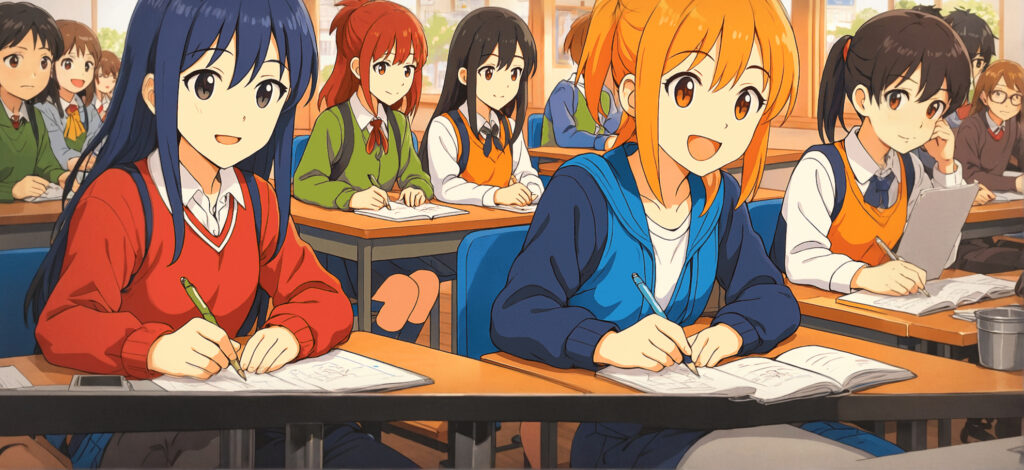
Welcome to a special After Effects tutorial, where we’ll learn how to create anime action backgrounds for high-intensity anime scenes. These backgrounds are not just decorative—they’re essential for enhancing the feeling of motion and speed. Without them, scenes may feel flat and less impactful. Let’s dive into how to build them from scratch, step by step.
Check Out My Online Store for All Your Art Needs
1. Setting Up the Project and Layers in After Effects
- Start by opening Adobe After Effects.
- Go to File → New → New Composition.
- In the Composition Settings, rename it to something like “Speed Lines.”
- Click OK to proceed.
2. Creating the Base Background for Anime Action Backgrounds
When the new composition opens, you’ll see a blank screen with no background—just what we need for building anime action backgrounds.

Right-click in the Project panel on the left, then choose New → Solid to create your background base.

Name the first solid layer “White Background,” set the color to white, and click OK.
Repeat the same step to create another solid layer, which will be used for the speed lines—this will be your action element layer.

3. Coloring the Background and Adding Effects for Anime Action Backgrounds
- Open the Effects & Presets panel.
- Search for “Fill” and drag it to the background layer.
- Choose an orange tone to give the scene a dramatic look.

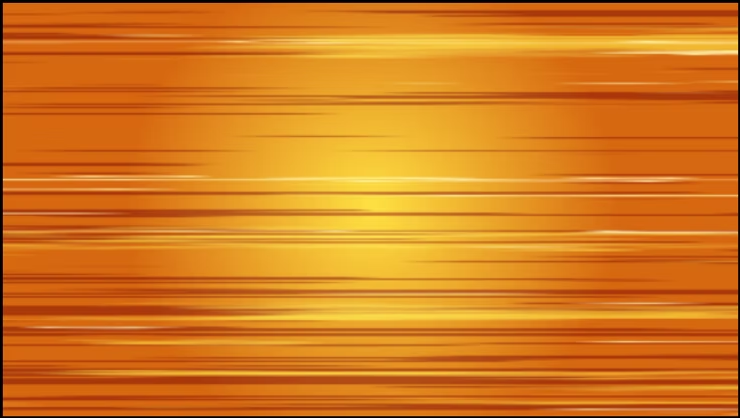
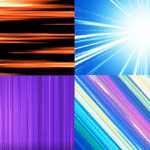
4. Creating Speed Line Effects
Search for and apply Fractal Noise to the speed lines layer.

Adjust the following values:
- Contrast: 843
- Brightness: 164
- Scale Width: 2222
- Scale Height: 29

This helps simulate the sharp motion style typical in anime action backgrounds.

Add Extract effect to remove the white areas and keep only the dark lines.

Apply another Fill effect and change the line color to brown.

5. Animating the Speed Lines
- Add a keyframe to Offset Turbulence at frame 1 with a value of 50.
- At frame 50, add another keyframe with a value of 50000.
- This makes the lines move quickly from left to right, adding strong motion energy to your anime action backgrounds.

Here you can see the results.
6. Adding Glowing Speed Lines
- Duplicate the speed lines layer with Ctrl + D.
- Change the duplicated layer’s color to yellow or light orange using Fill.
- Repeat the process for a third layer and set it to white.

- Adjust the thickness using contrast and brightness settings.
- Add a Glow effect to the white layer and tweak intensity to enhance the dramatic look.

7. Exporting the Final Anime Action Backgrounds
- Go to File → Export → Add to Render Queue.
- In the Render Queue:
- Format: QuickTime or MP4 (H.264)

- Output Module: Select RGB + Alpha for transparency
- Output To: Choose your save location
- Click Render and wait for the export to finish.

Now that we’ve built professional-quality anime action backgrounds for anime scenes, you can easily integrate them into your projects and stack more effects on top. These backgrounds bring a dynamic layer to scenes, making them look faster and more impactful.
What do you think of this technique? Do you have ideas to improve the action effect? Share your thoughts in the comments!


Leave a Reply