From now on, there will be endless lessons on drawing anime and manga characters. Today, we begin with anime face drawing, one of the most crucial parts of character design. The face is the first thing we see; it reflects personality—whether someone seems arrogant or kind. So it’s essential to focus on it for a hint at your character’s traits.
Basic sketching for anime face drawing
The first thing we start with are the basic guidelines, also known as the sketch. If you’re drawing on paper, use a blue or red pencil, and don’t press too hard—sketch gently. These lines will help us build the structure of the face. Begin by drawing an oval shape, and the younger the character, the rounder and larger the head should be.
As we know, adult faces tend to be longer and slimmer, while children’s faces are rounder and fuller, with proportionally larger heads. Keep this in mind as you draw.

Continue with the sketching phase
Then we move on to draw a line starting from the upper half of the face down to the bottom. It’s important to pay attention here: if you’re aiming to draw a young man, make the line slightly longer — meaning the chin or face should appear longer. But if you’re drawing a child, keep the line shorter.
My Online Shop Has Everything You Need as an Artist
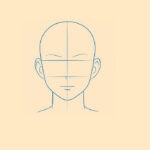
Just below that, we draw two lines — these will serve as guides for drawing the eyes later. Finally, we finish by sketching the jawline.

Understand it
Here is an illustration showing the previous stages. Make sure you understand it well before moving on to the next step.

Laying out facial features
Next, mark where you’ll place the eyes, nose, mouth, and ears. Pay attention to facial proportions: some characters have oval, sharp, or square facial shapes. This stage gives you control over character personality and is key in anime face drawing.

Refining facial features
Draw the eyes, nose, mouth, and ears based on the guidelines. Adjust their size or shape to reflect your character—big, narrow, curved eyelids, etc. You’ll begin to see your character taking shape during this phase of drawing anime face.

Adding the hairstyle
Extend the hairline about 2–3 cm outside the oval. Sketch strands and set the hairstyle length—simple or dense. This framework helps in finalizing details later in anime face drawing.

Detailing the eyes, nose, and mouth
In the second phase, begin refining the eyes according to the character’s personality—sharp if they’re arrogant, soft if innocent. Keep the nose simple—a dot or small line—and draw a subtle curved mouth. This detail adds finesse to your drawing anime face.

Final steps: Inking and coloring
Once happy with the sketch, ink and color your character to finalize your anime face drawing tutorial. This completes your first lesson in drawing an anime face.
My friends, when you’re coloring an anime or cartoon character, try using cel shading — it’s closer to the style of Japanese anime.

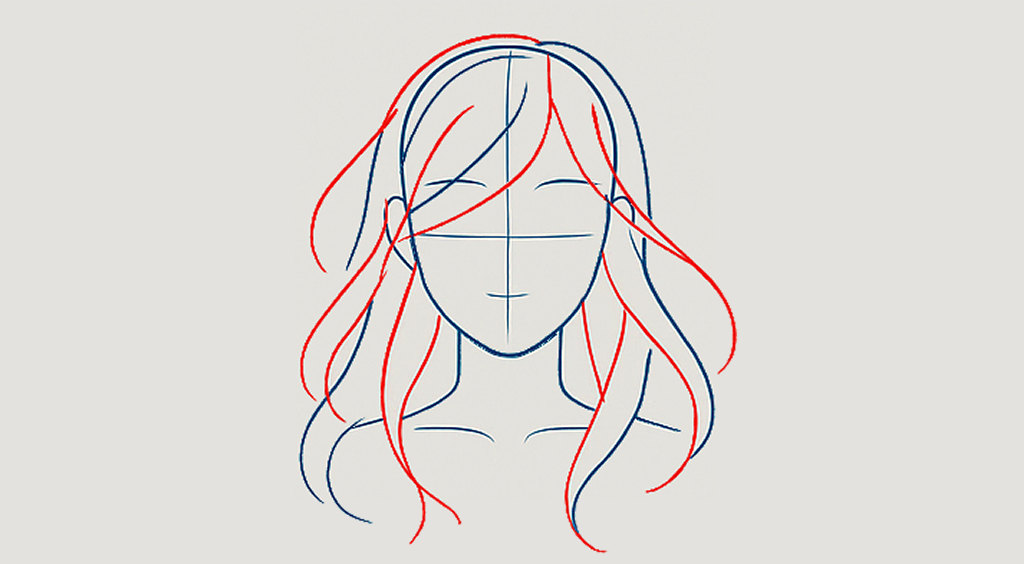
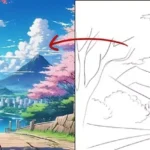
Reference image
I’ve added another reference image to help you better understand the process, and how this basic structure helps in positioning the face, hair, and other elements. Take a close look at the image.
And with that, we’ve completed our lesson on how to draw an anime face.

So my friends, today we learned how to draw an anime face from the front with clear and simple steps. All you need to do now is grab your notebook and pencil, and follow my steps carefully. This is how you’ll improve your drawing skills, especially for anime characters. I hope you enjoyed this anime face drawing lesson—see you in upcoming tutorials!


Leave a Reply